
Follow our 'how to' step-by-step tutorial to make a Christmas Present Pop Up Card from our free printable template. This is a great activity to do with the kids, or even if you are interested in learning how to make pop up cards yourself.
Follow our 'how to' step-by-step tutorial to make a Christmas Present Pop Up Card from our free printable template. This is a great activity to do with the kids, or even if you are interested in learning how to make pop up cards yourself. For a slightly more advanced pop up card for you to try your hand at, try our new snowman popup card tutorial, too!
Background
Before you get started, here is some background into the pop up card design process. Here at Cardology HQ we focus on creating pop up cards using some amazing but somewhat complicated paper-engineering techniques.
One is Kirigami and the other is Sliceform. Sliceform is essentially creating 3D models by interlocking 2-dimensional pieces of card together from the template design. When designing our cards we have to position where the individual pieces will intersect, slowly building up the 3D model.
From our designs, we create a template sheet with all individual pieces or ‘slices’ that will make up the card. These pieces are then laser cut, before each card is assembled by hand. In this tutorial, you won't be using laser! Instead, we have adapted the template so the pieces can easily be cut out from the printed template using scissors or a craft knife.

Christmas Present Pop Up Card Tutorial
DIFFICULTY: MEDIUM - For upper primary level and above (with adult help and supervision) to Adult crafters.
Here’s what you will need:
- Cutting Matt
- Scissors
- Glue Stick
- PVC Glue (Tacky Glue)
- Pencil
- Metal Ruler
- Craft Knife
- Cardmakers’ Bone Folder - ideal for creating a sharp fold/crease. Available from most craft shops.
- Cardstock
- 1 x coloured cardstock for your card cover
- 1 x coloured cardstock for the inner lining of the card
- 2 x coloured cardstocks of your choice for the pop up structure inside the card.
- Any embellishments for the card cover
Note: We have used 160 gsm cardstock
Step 1: Supplies and Prep
You will be making the pop up present separately and then will glue it inside the card face.
In the tutorial, the pop up present will be made up of 2 different colours of cardstock however you can adapt this and choose whatever colours you wish.
We will be using a red and patterned cardstock in this example to make the pop up present. You will also have to choose a coloured cardstock for the cover and the lining of the card. In this example, I have used cream card for both.
You will need to print 2 copies of the template, below, on your chosen cardstock for the pop up box. In this example, I printed 2 copies of the template on the Red and Patterned cardstock.
DOWNLOAD THE POP UP CARD TEMPLATE HERE:
PDF Version: Pop Up Card Template
MS Word Version: Pop Up Card Template

Equipment required to make your Christmas Present Pop Up Card from the template you'll print out[/caption]
Step 2: Cutting the pieces for the pop up present
Each template will consist of the 6 pieces required to create a pop up present.
As we want the pop up present to be two different colours, we will use selected pieces from each coloured template.
In my example, I used the Red cardstock for the 2 x Squares with bows, and the multicoloured (gold, red and white) glitter cardstock for the remaining slices. (With the rest of the remaining pieces, instead of discarding them, keep them so you can make another card later)

1. Cut out the template using scissors

2. Cut out the inside of the bows using a craft knife

3. You should end up with 6 pieces in total, using the different coloured cardstock
Please note: For children using this tutorial, adult supervision maybe required for this part, if using a craft knife
Step 3: Cutting the Slots
On each piece, you will notice there are 3 lines (or slot joints) which also need to be cut out. The slots are cut so the pieces (or ‘slices’) can weave together. This stops the pop up from falling apart when you have assembled all the slices. It’s important that you cut ‘slots’ and not just a single slit. You must cut just enough for the slices to slot together easily, but if the slot is too wide, the model is likely to fall apart easily, especially in the early stages of assembly.

Cut the slot with scissors, making a pair of cuts directly on each side of the thick line. This will give a sliver of card which will often curl up like a hair. For the neatest finish use a craft knife to cut it off.

4. It’s important that you cut ‘slots’ and not just a single slit.
Step 4: Assembling the Pop Up Present
1: Take the slices with tabs (both tabs should be to the left of the main square. Fold the tab along the vertical dashed line. The tab should fold anti-clockwise, basically folding in front of the main square part.
2: The small square tab should also be folded along the horizontal dashed line, upwards.

3: Take the multicoloured slice with the folded tab (tab still on the left side) and slot it into a square slice and continue slotting them together consecutively to make a box.


Slot the slices together consecutively to make a box. Both the tabs should be directly opposite each other.
4: Next, take the Red slice which has 2 slots on the bottom and one on top. Slot this into the 2 middle slots of the box.

5: Finally slot the last pink slice into the remaining slot joints in the box.

Congratulations! You have created the main pop up element of the card. Put this aside while we create the card face!

Step 5: Making the Card Face
Now that you have created the pop up present structure, the next step is for us to create the card face.
1: Take 1 sheet of your desired coloured cardstock with the dimensions 21cm x 14.8cm.
For this example, I used a beautiful printed red cardstock. Fold your cardstock in half, so that the card measures 10.5cm x 14.8cm

2: Embellish the card face as you want - you can get as creative as you like!

Step 6: Putting it all together
Now that you have made the card face and the pop up present, all you have to do is put it all together to make your Christmas Present Pop Up Card!
1: Take the second sheet of white/cream card stock and cut 2 rectangles, using scissors (or a craft knife) for the following dimensions:
- 10cm (w) x 14cm (h)

2: Cut a slit 2cm from the edge, centrally. The line should be approx. 1 cm in length

3: Remember those tabs on the pop up present? Slot the tabs through the each of the slits you have just cut.

4: Glue the tabs to the white cardstock, to hold the present structure in place.

5: Glue both sides of the white cardstock, using a glue stick or tacky glue

6: Stick the white cardstock inside the card cover, ensuring there is a small border all around the edge. The lining should not be glued along the fold of the cover card also, therefore, make sure there is a small gap along the fold too.

Et Voila!
Congratulations! You have made a Christmas Present Pop Up Card. As you can see there are many steps involved in creating even the simplest looking cards. Well done for getting creative with Cardology!
Remember, you can also try our slightly more advanced snowman popup card tutorial, too. Please leave feedback on how you got on and let us know any other tutorials and pop up card templates you'd like to try!
Disclaimer: All parts of this tutorial, including the templates, card design, finished card and the images used are the property of Cardology Ltd® This tutorial can be used for personal cardmaking purposes or for teaching materials. This tutorial can not be used for commercial purposes, without written permission from Cardology. Please contact us for more information including rates.
Shop Our Best Sellers
-
Regular price£10.00Regular priceSale price£10.00 Save £-10.00 (%)Unit priceper
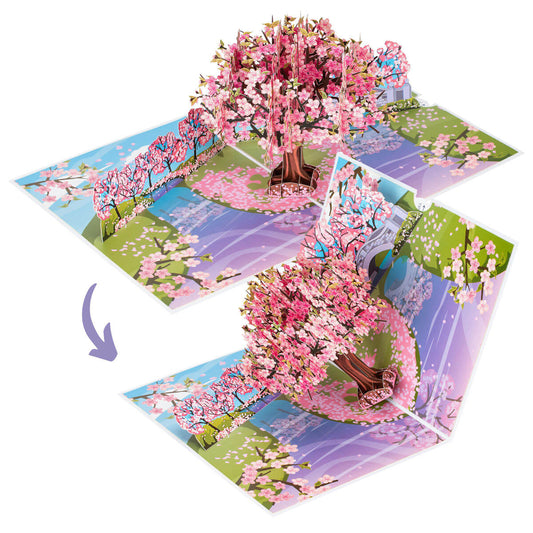
Pink Cherry Blossom Tree Pop Up Card
-
Regular price£10.00Regular priceSale price£10.00 Save £-10.00 (%)Unit priceper
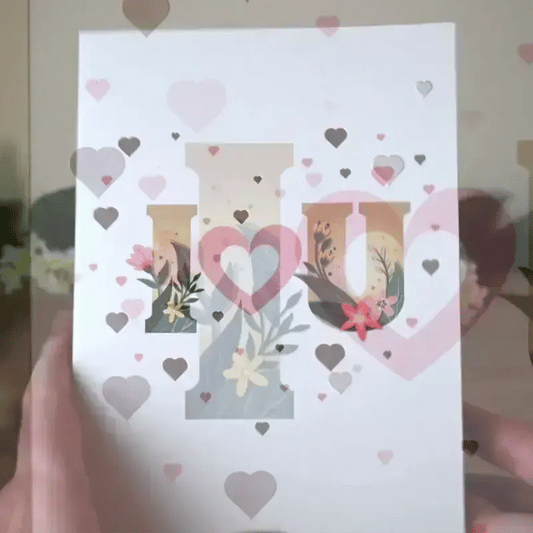
I Love You Pop Up Card
-
Regular price£10.00Regular priceSale price£10.00 Save £-10.00 (%)Unit priceper
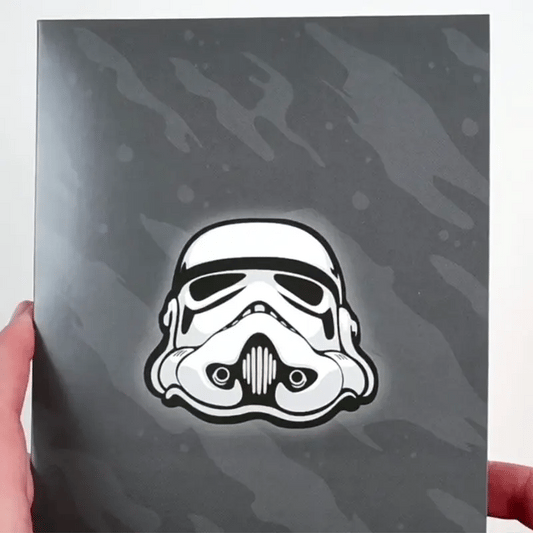
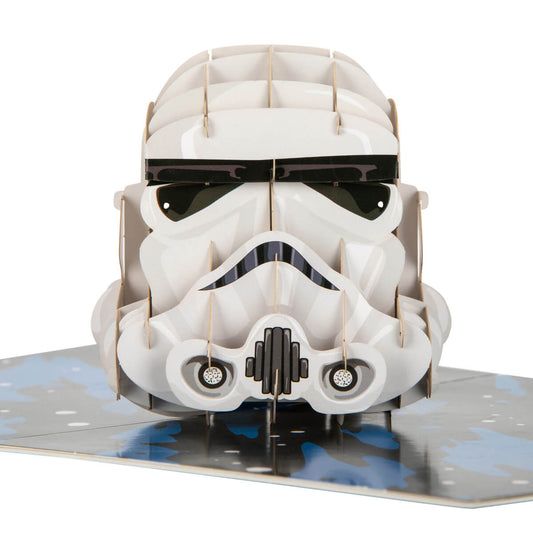
Original Stormtrooper Helmet Card
-
Regular price£12.00Regular priceSale price£12.00 Save £-12.00 (%)Unit priceper
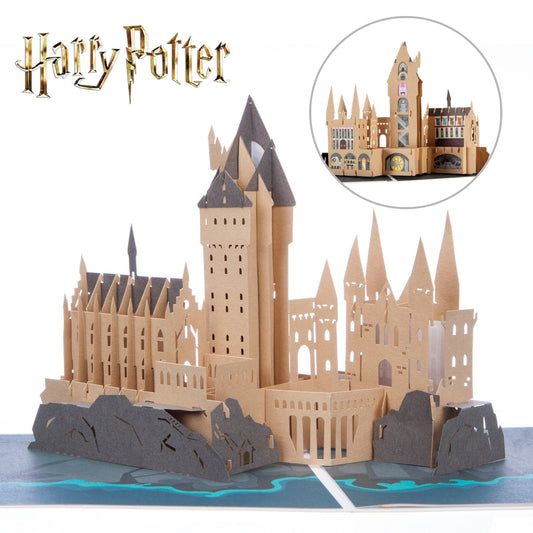
Harry Potter Hogwarts Pop Up Card