

Collection: Christmas Greeting Cards
Click below to create your own pack
-
Regular price£3.75Regular priceSale price£3.75 Save £-3.75 (%)Unit priceper
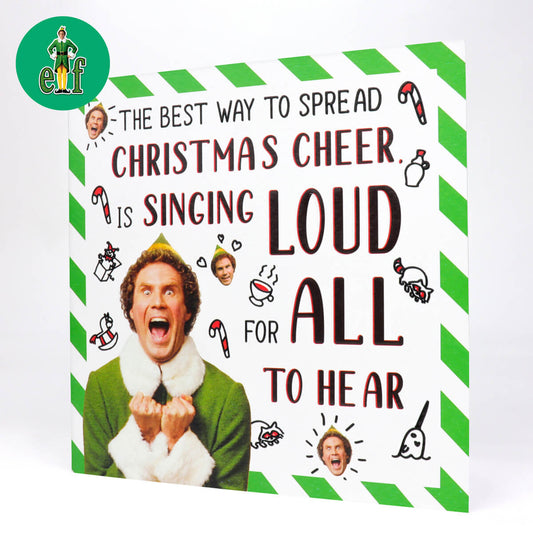
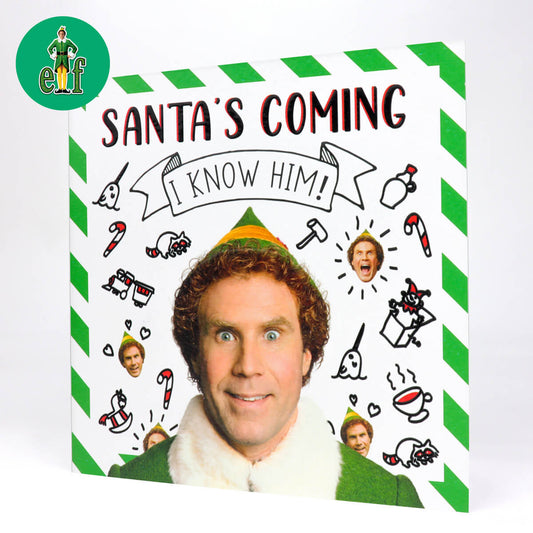
Buddy The Elf - Christmas Cheer
-
Regular price£3.75Regular priceSale price£3.75 Save £-3.75 (%)Unit priceper
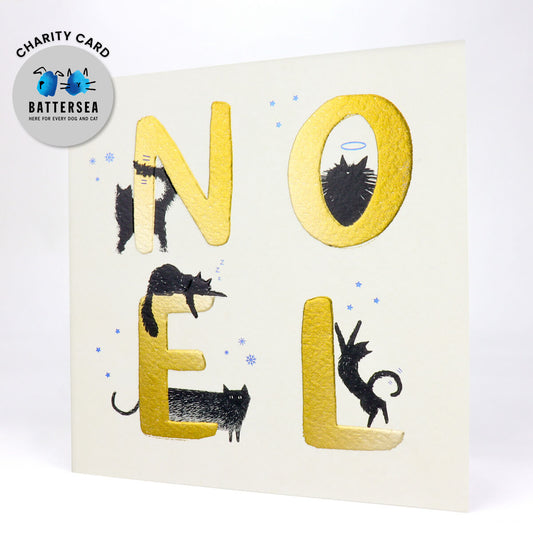
Noel Christmas Cats Card
-
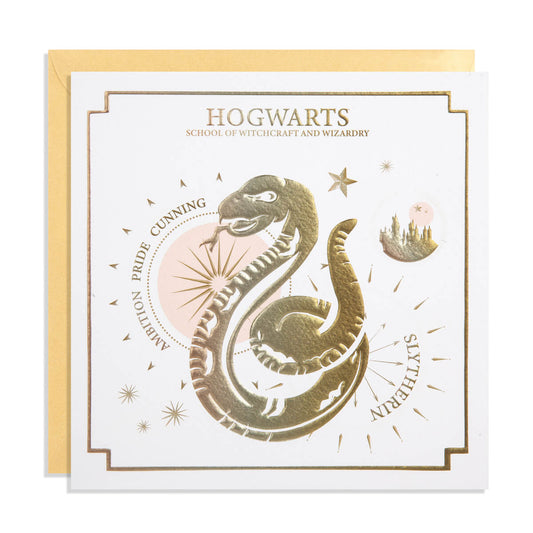
Regular price£3.75Regular priceSale price£3.75 Save £-3.75 (%)Unit priceper
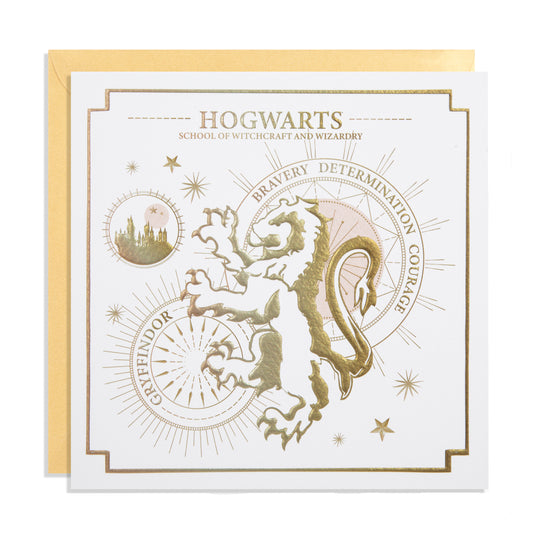
Gryffindor Yule Ball Card
-
Regular price£3.75Regular priceSale price£3.75 Save £-3.75 (%)Unit priceper
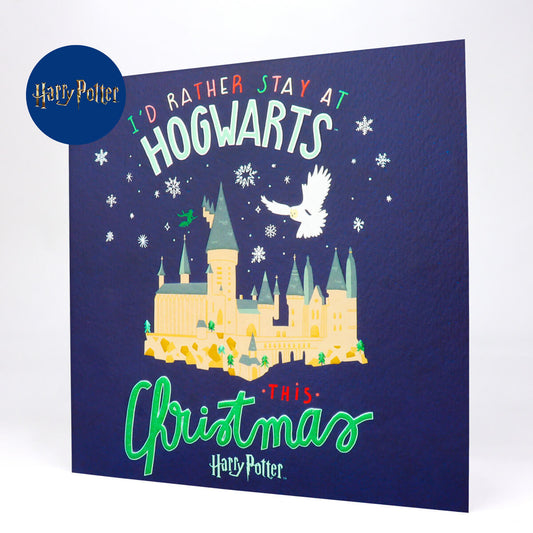
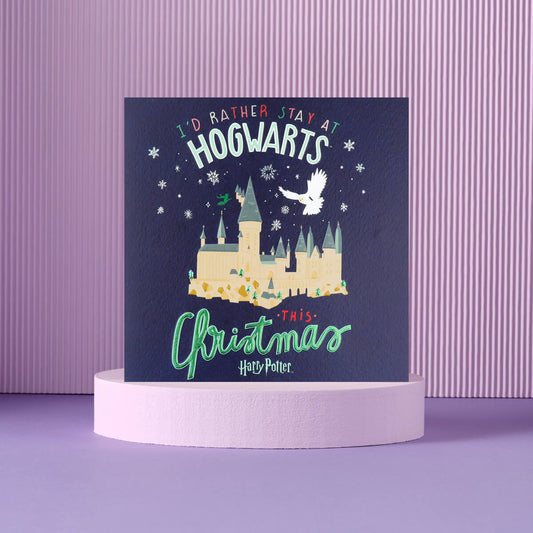
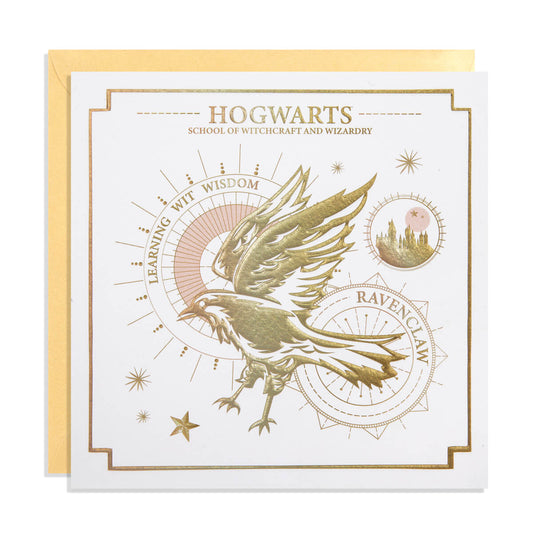
I'd Rather Be At Hogwarts This Christmas
-
Regular price£3.75Regular priceSale price£3.75 Save £-3.75 (%)Unit priceper
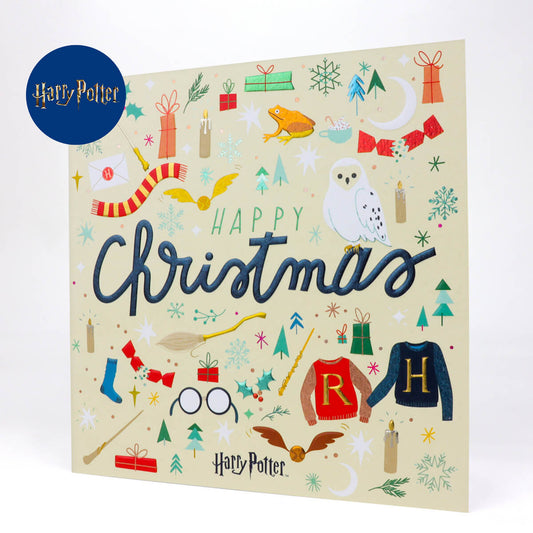
Harry Potter Christmas Card
-
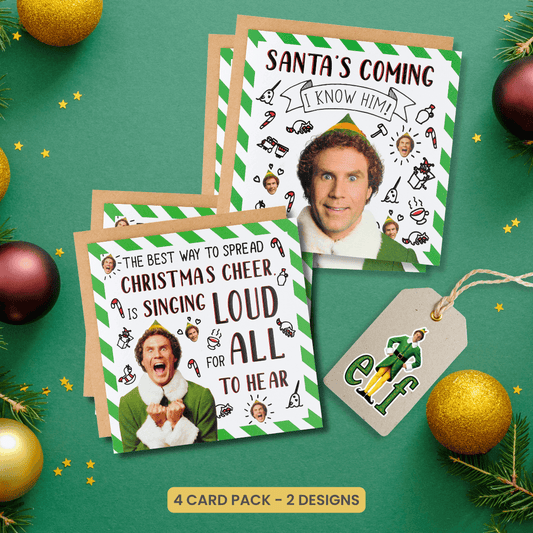
Regular price£10.00Regular price
£14.00Sale price£10.00 Save £4.00 (28%)Unit priceperElf Christmas Cards - Pack Of 4
-
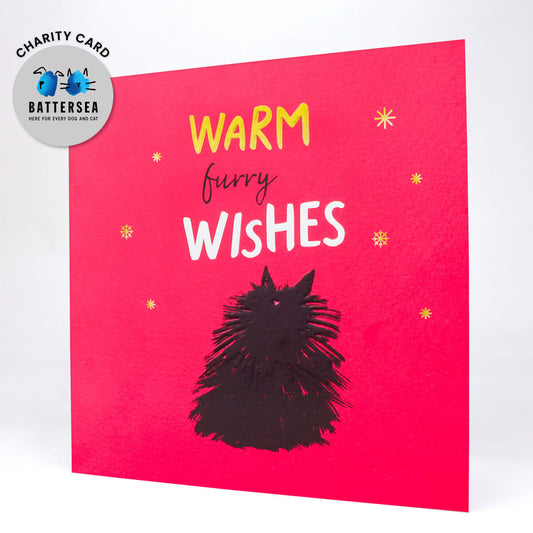
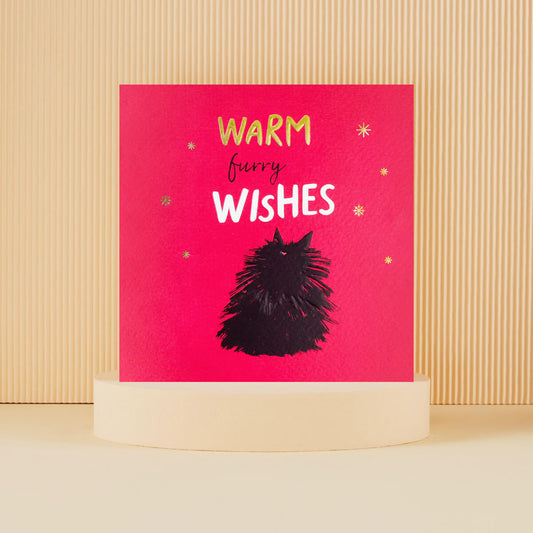
Regular price£3.75Regular priceSale price£3.75 Save £-3.75 (%)Unit priceper
Warm Furry Wishes Cat Card
-
Regular price£10.00Regular price
£14.00Sale price£10.00 Save £4.00 (28%)Unit priceperOriginal Stormtrooper Christmas - Pack Of 4
-
Regular price£3.75Regular priceSale price£3.75 Save £-3.75 (%)Unit priceper
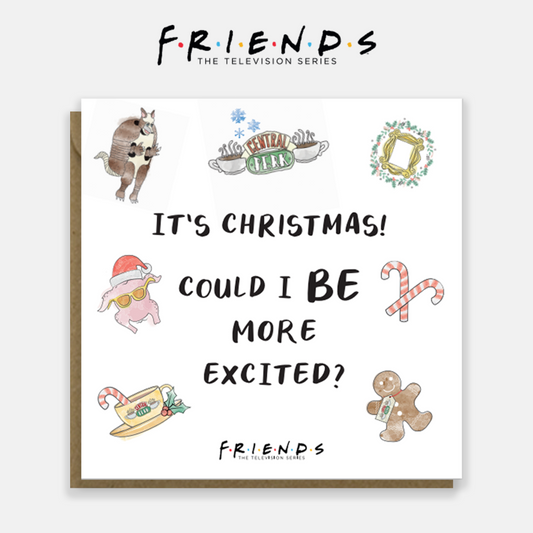
It's Christmas! Could I BE More Excited?
-
Regular price£3.75Regular priceSale price£3.75 Save £-3.75 (%)Unit priceper
Slytherin Yule Ball Card
-
Regular price£3.75Regular priceSale price£3.75 Save £-3.75 (%)Unit priceper
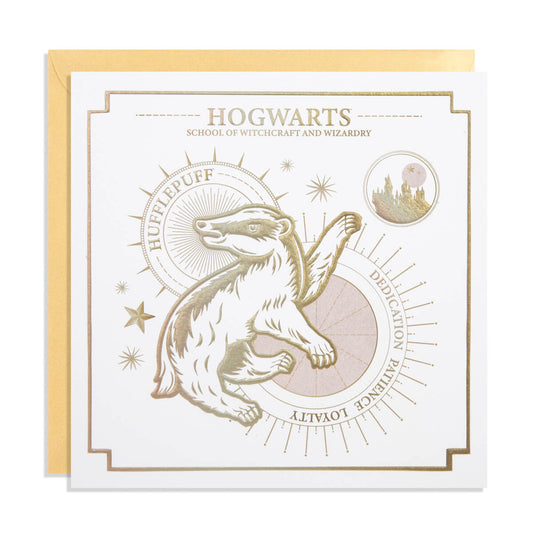
Hufflepuff Yule Ball Card
-
Regular price£3.75Regular priceSale price£3.75 Save £-3.75 (%)Unit priceper
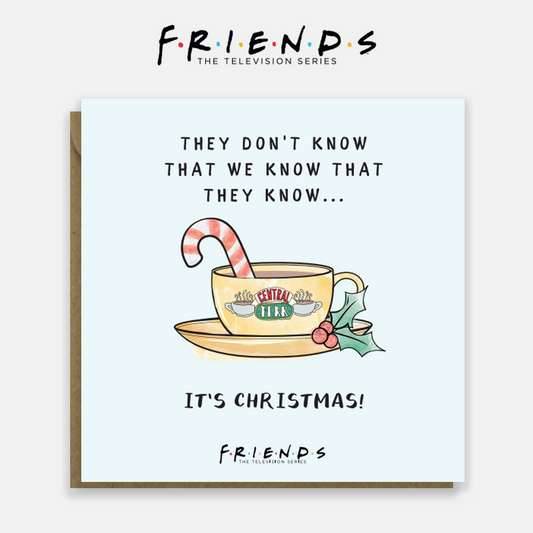
They Don't Know - It's Christmas
-
Regular price£10.00Regular price
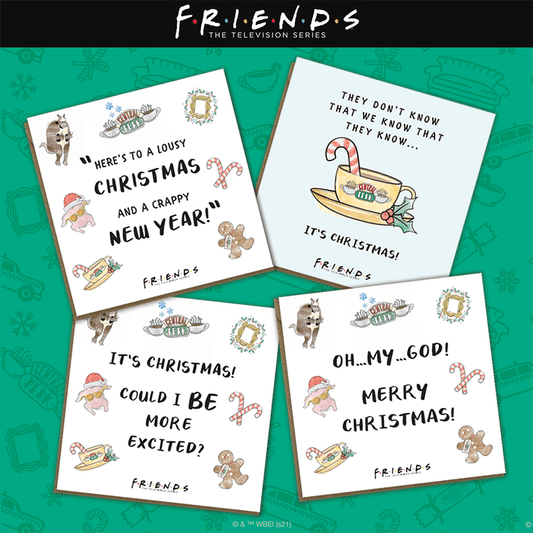
£14.00Sale price£10.00 Save £4.00 (28%)Unit priceperFriends Christmas Cards - Pack of 4
-
Regular price£3.75Regular priceSale price£3.75 Save £-3.75 (%)Unit priceper
Ravenclaw Yule Ball Card
-
Regular price£3.75Regular priceSale price£3.75 Save £-3.75 (%)Unit priceper
Buddy The Elf - Santa's Coming
-
Regular price£3.75Regular priceSale price£3.75 Save £-3.75 (%)Unit priceper
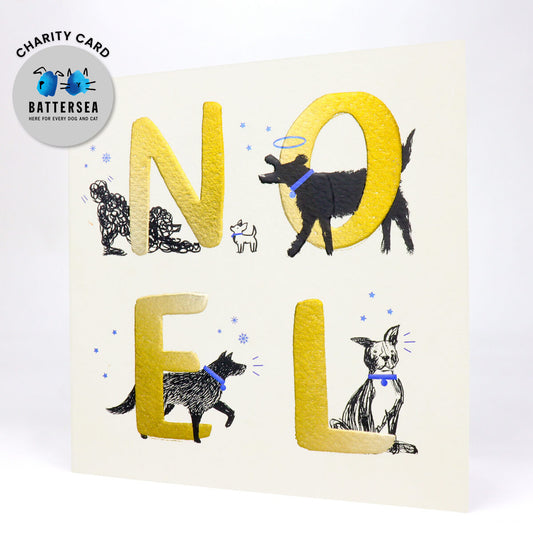
Noel Christmas Dogs Card
-
Regular price£3.75Regular priceSale price£3.75 Save £-3.75 (%)Unit priceper
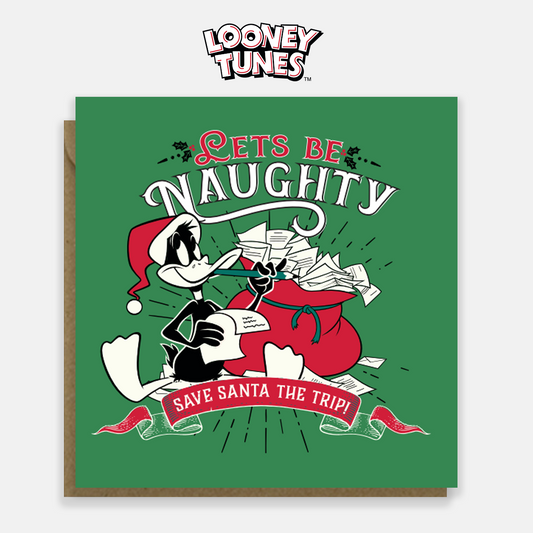
Daffy Duck - Let's Be Naughty
-
Regular price£3.75Regular priceSale price£3.75 Save £-3.75 (%)Unit priceper
Shut The Blast Door Christmas Card
-
Regular price£3.75Regular priceSale price£3.75 Save £-3.75 (%)Unit priceper
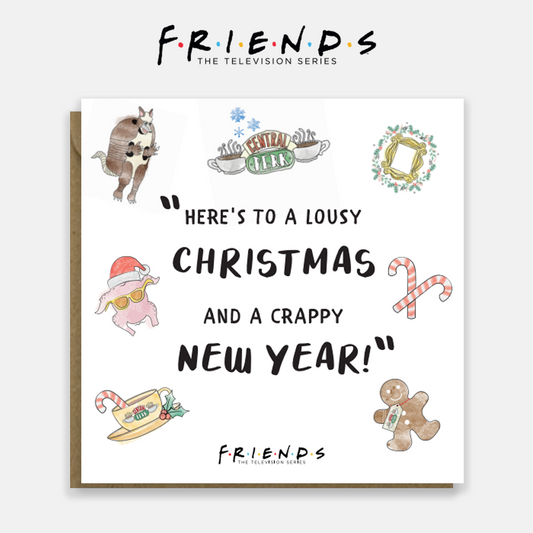
Lousy Christmas, Crappy New Year
-
Regular price£3.75Regular priceSale price£3.75 Save £-3.75 (%)Unit priceper
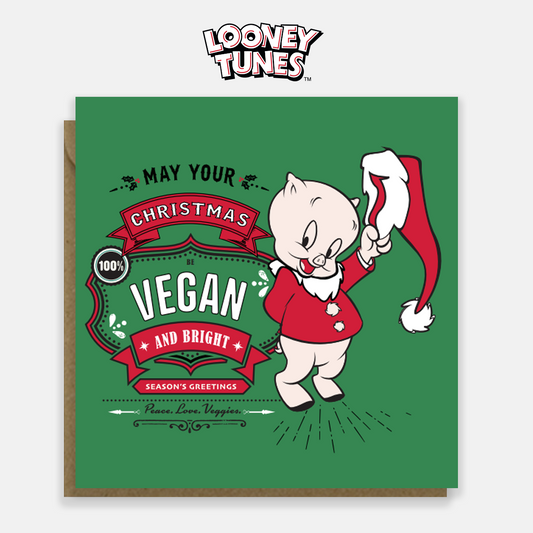
Porky Pig - Vegan Christmas
-
Regular price£3.75Regular priceSale price£3.75 Save £-3.75 (%)Unit priceper
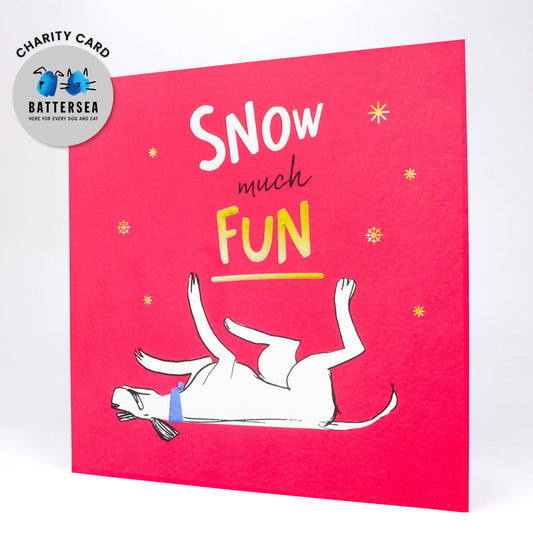
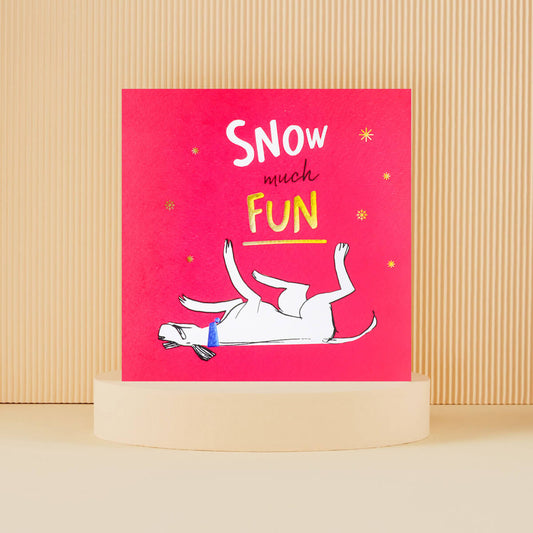
Snow Much Fun Card
-
Regular price£3.75Regular priceSale price£3.75 Save £-3.75 (%)Unit priceper
Miss You A Merry Christmas Card
-
Regular price£3.75Regular priceSale price£3.75 Save £-3.75 (%)Unit priceper
Oh My God - Merry Christmas!


Need Help?
How much is postage?
How much is postage?
For orders less than £20:
- £3.75 - Royal Mail 48 Tracked
- £4.25 - Royal Mail 24 Tracked
For orders over £20:
We offer FREE Shipping
How fast is delivery?
How fast is delivery?
You have the option to select Royal Mail 24 Tracked (delivery within 1 - 2 days) or Royal Mail 48 Tracked (delivery within 2 - 3 days)
When will you dispatch my order?
When will you dispatch my order?
We process all orders within 1 - 2 business days.
Where do you ship from?
Where do you ship from?
We dispatch all orders from our studio in Surrey, UK
Any other questions?
Any other questions?
Check out our FAQ's page